Shooting a Timelapse Video: A Comprehensive Guide
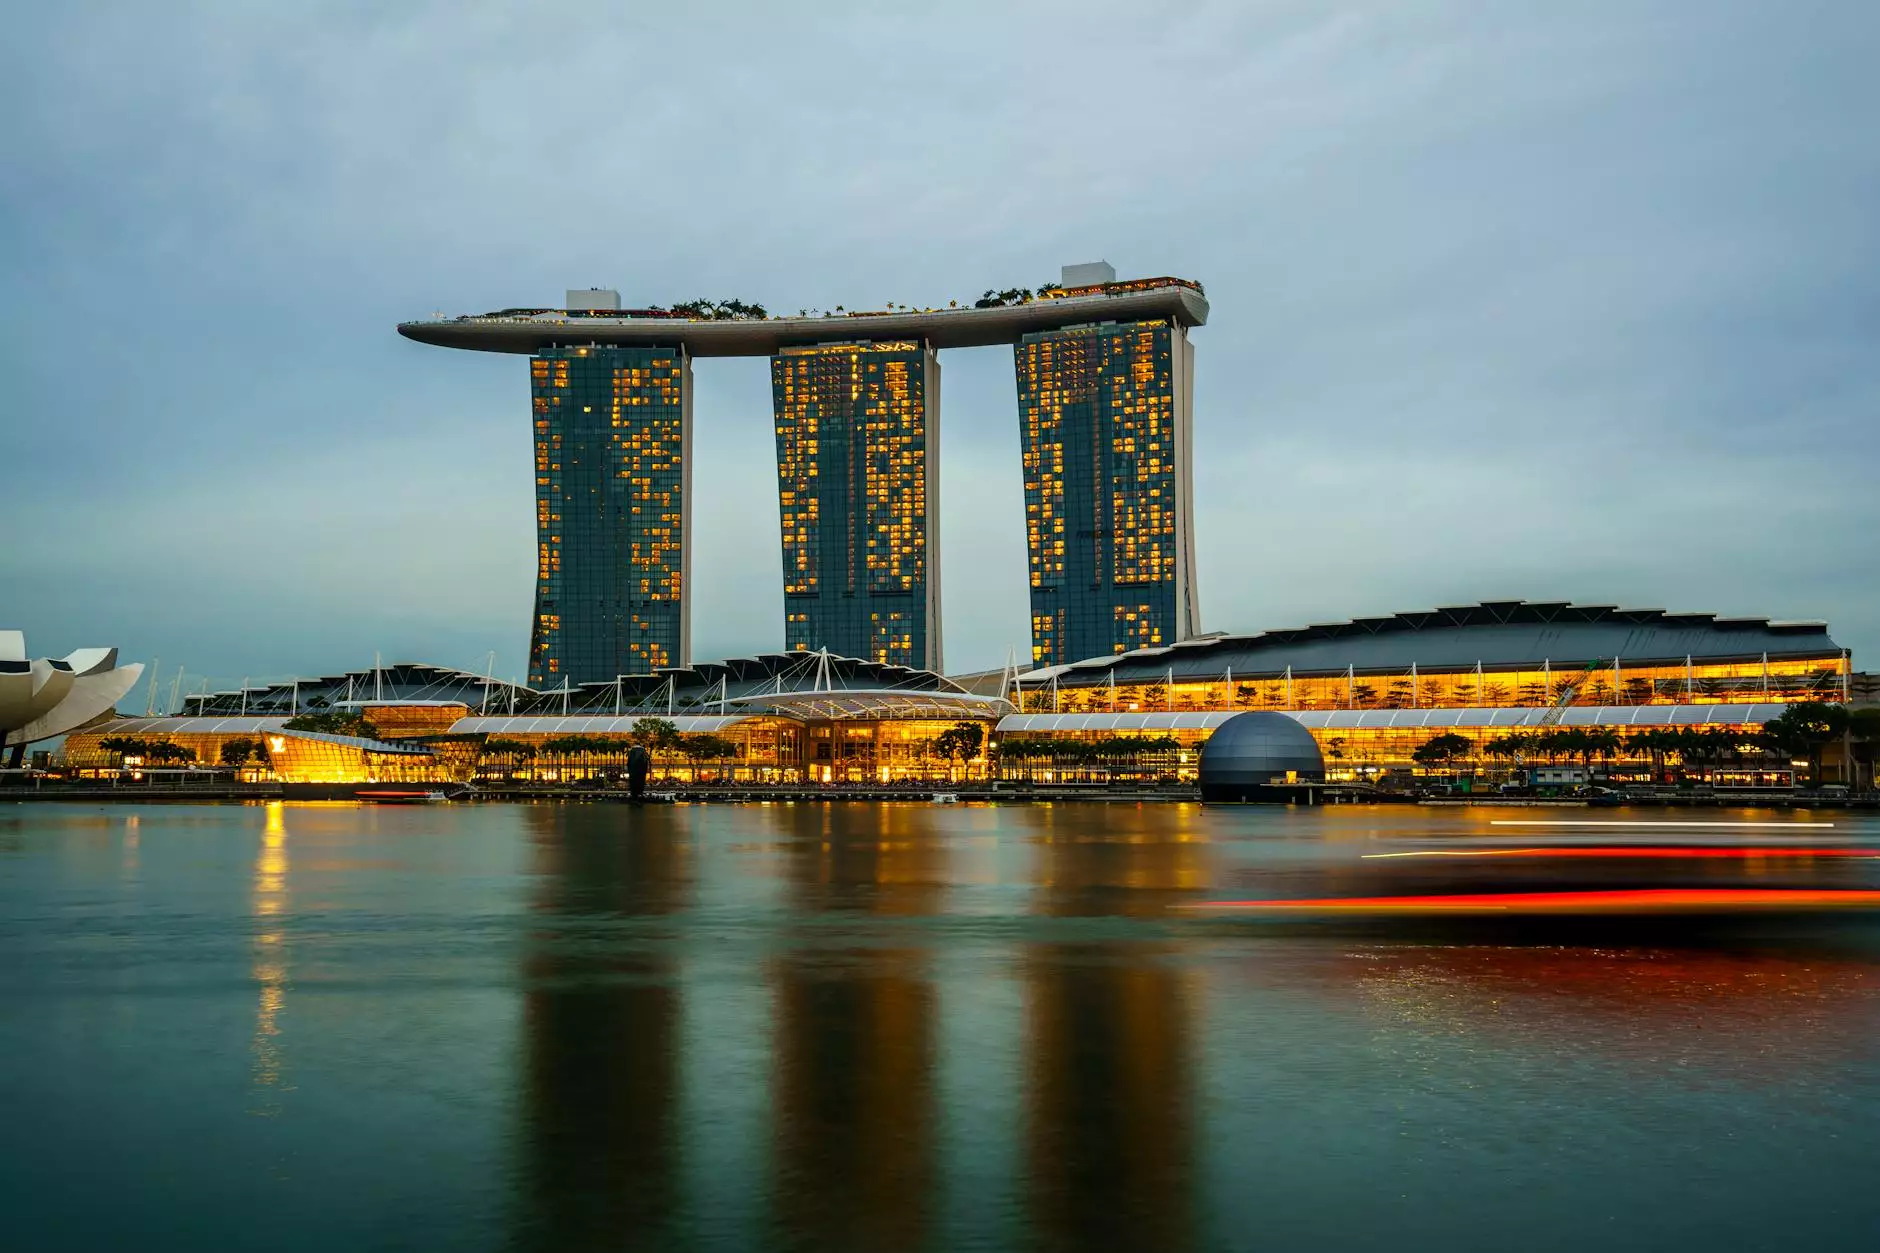
Shooting a timelapse video is an exquisite way to capture the elegance of a moment transformed over time. Whether you’re looking to highlight the vibrant energy of city life, the serene beauty of nature, or the intricate process of a construction project, timelapse offers a unique perspective that can engage viewers like no other technique.
What is Timelapse Photography?
At its core, timelapse photography involves taking a series of images over a set period of time and playing them back at a faster rate. This technique can contribute to a stunning visual narrative, allowing viewers to witness transformations that occur too slowly for the human eye to perceive.
Why Choose Timelapse Photography?
- Highlight Changes: Perfect for capturing the subtle shifts in landscapes, architecture, or even human activity.
- Engagement: Timelapse videos tend to captivate viewers, making them a favored choice for social media platforms.
- Versatility: Can be applied in diverse fields such as real estate, event documentation, and artistic expression.
- Storytelling: Offers a powerful method to tell a story through rapid progression.
Essential Equipment for Shooting a Timelapse Video
While the beauty of timelapse lies in its simplicity, having the right equipment can significantly enhance your overall results. Here’s a breakdown of essential tools:
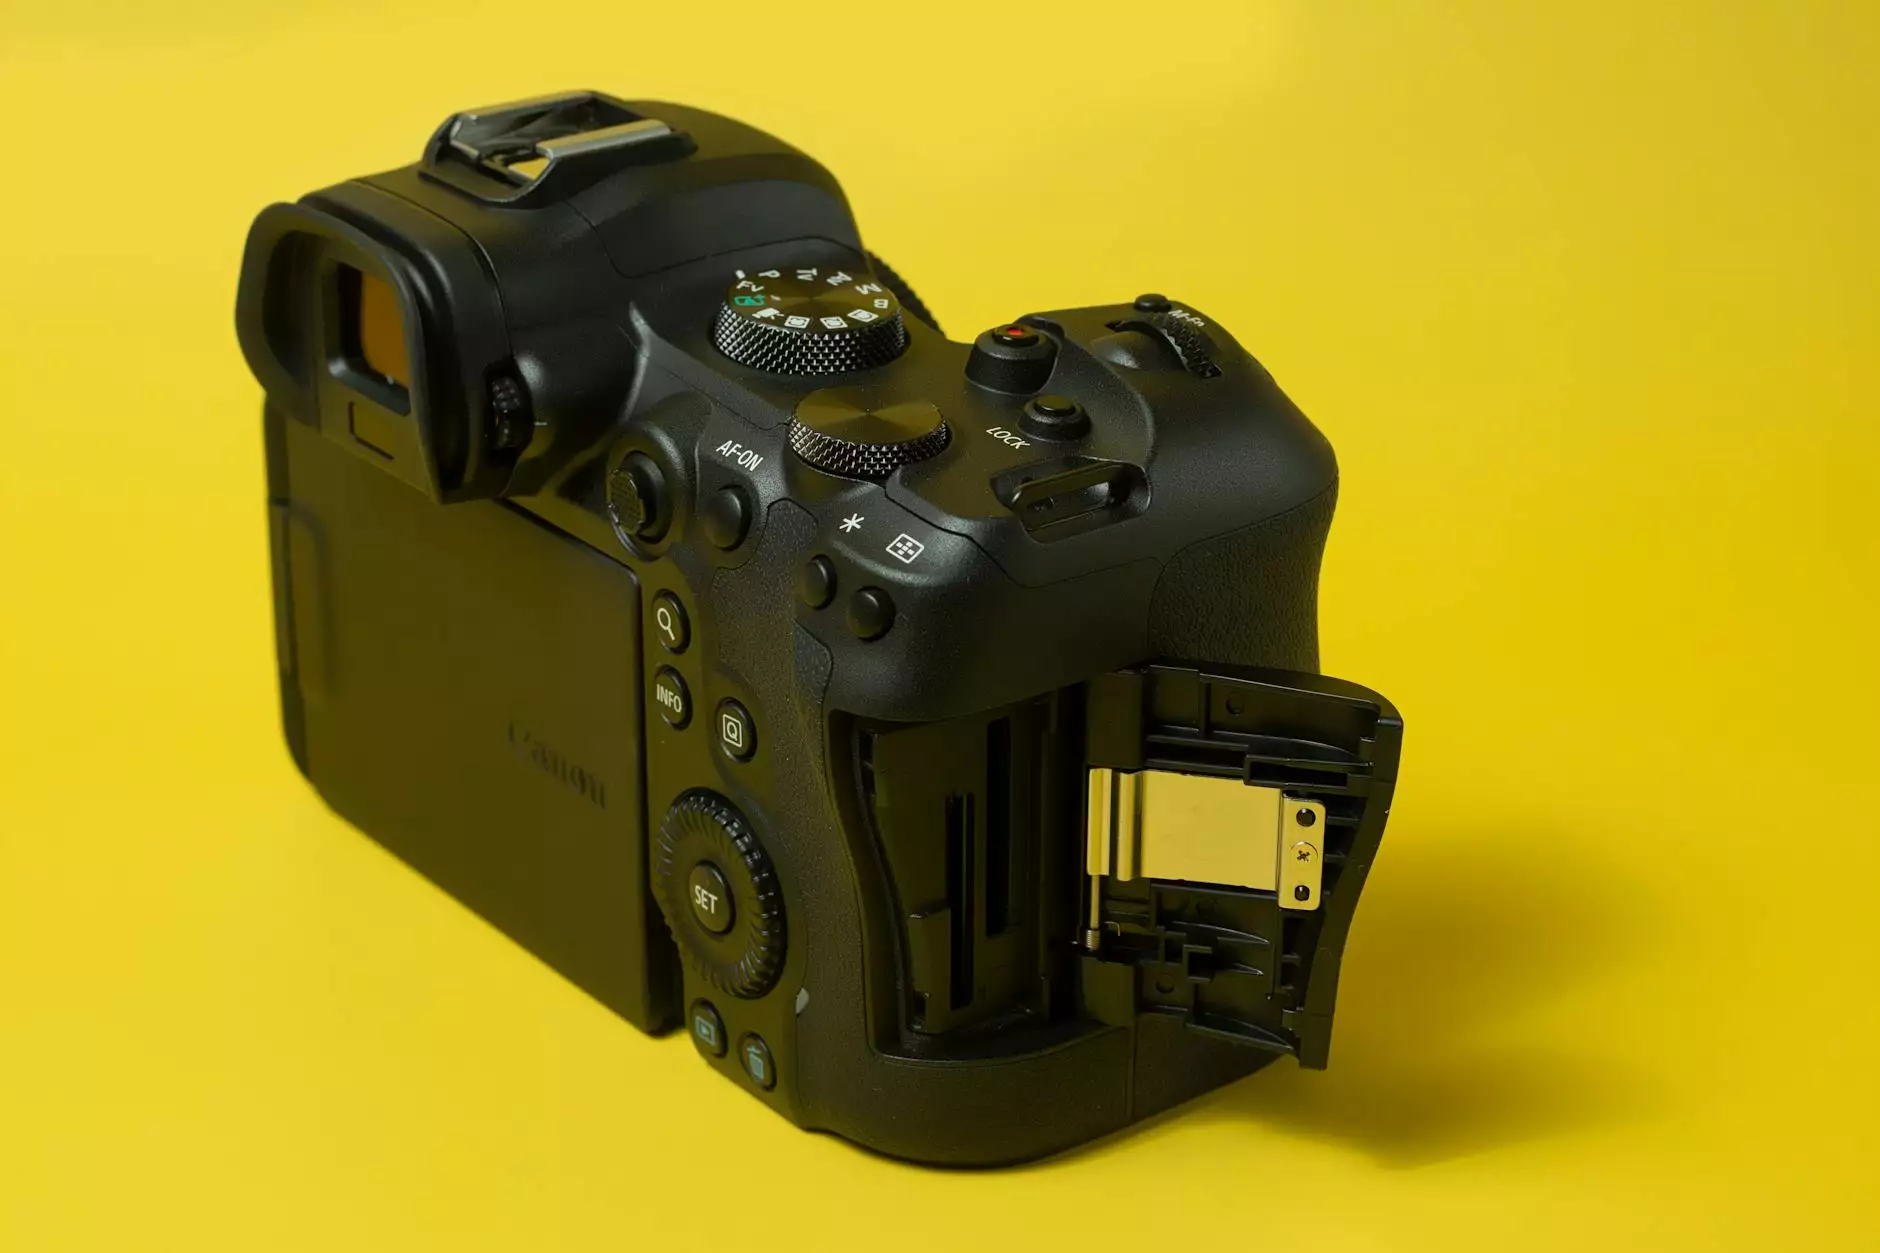
1. Camera
Your choice of camera can greatly affect the outcome of your timelapse video. Here are your options:
- DSLRs: These offer excellent quality and flexibility with lens options.
- Mirrorless Cameras: Compact and lightweight, they often have superior video capabilities.
- Smartphones: Many modern smartphones have built-in timelapse functions that are easy to use, making them accessible for beginners.
2. Tripod
A sturdy tripod is crucial to keep your camera stable throughout the shoot. Look for a model that offers good height and flexibility for different angles.
3. Intervalometer
If your camera doesn’t have a built-in timelapse feature, an intervalometer is essential. This device allows you to set the interval at which the camera captures images.
4. Post-Processing Software
After capturing your images, software like Adobe Premiere Pro, Final Cut Pro, or free options like DaVinci Resolve can help you stitch your photos together into a stunning video.
How to Plan Your Timelapse Shoot
Planning is vital for a successful timelapse project. Here’s a structured approach:
1. Choose Your Subject
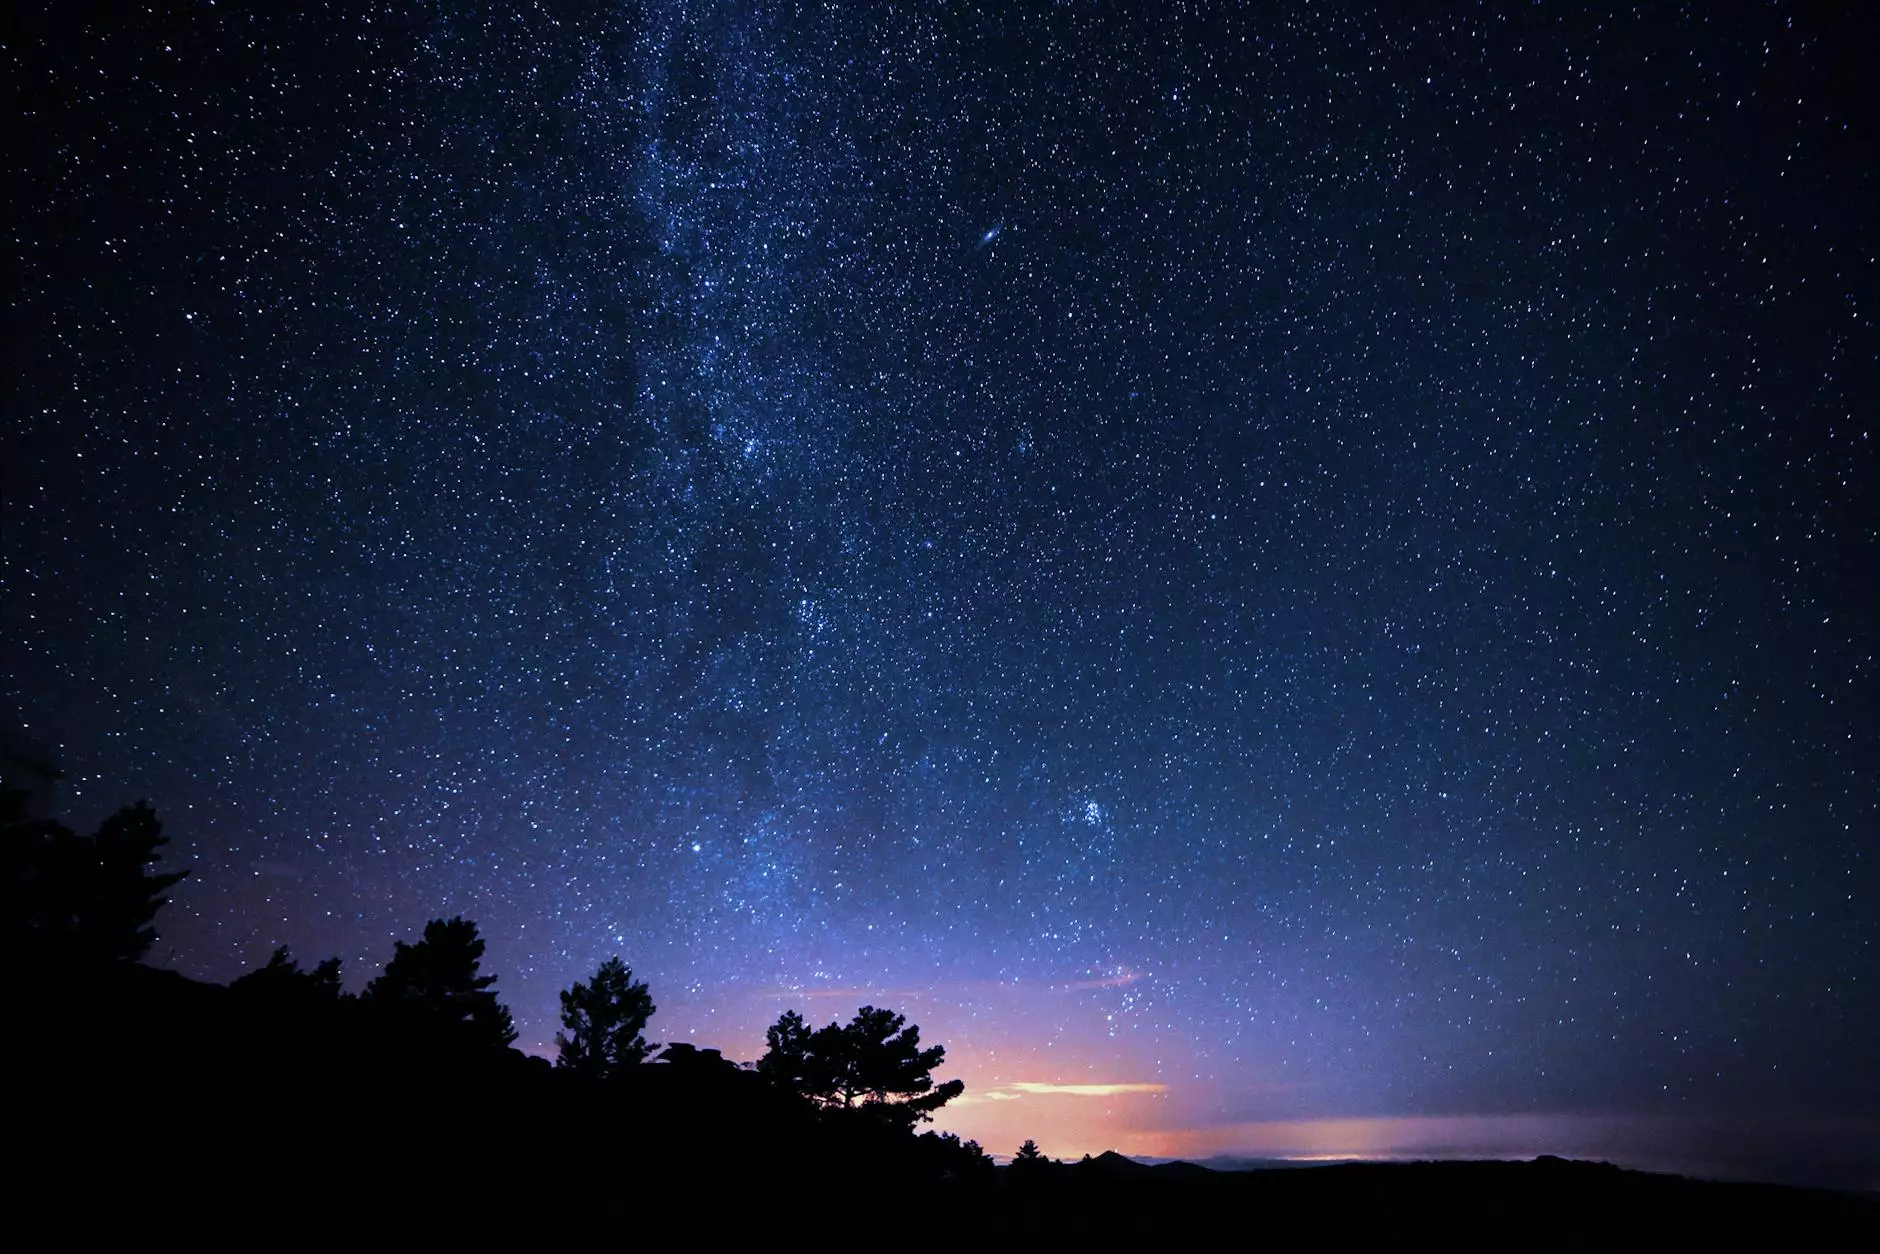
Select a subject that will display noticeable changes over time. This could be a sunset, a bustling marketplace, or the construction of a new building. The more dynamic, the better!
2. Scout Your Location
Visit the site before the actual shoot. Look for the best angles and lighting conditions. Consider factors like the time of day, weather conditions, and perspective.
3. Determine Your Duration
The duration of your shoot will depend on the subject and the effect you want to achieve. Some scenes might need several hours, while others could span days.
4. Set Up Your Shots
After arriving at your location, setup your camera on the tripod and compose your frame thoughtfully. Focus on ensuring your shot is stable and visually intriguing.
Technical Settings for Shooting Timelapse Videos
Getting the technical settings right can make or break your timelapse video. Here are some basic guidelines:
1. Aperture
For landscape shots, a smaller aperture (higher f-stop number) is advisable to achieve a greater depth of field. An aperture of f/8 to f/16 is often ideal.
2. Shutter Speed
Use a shutter speed that complements your subject; a faster speed works well for quick movements, while a longer shutter speed might be better for slower motions.
3. ISO Settings
Your ISO should be set as low as possible to avoid noise, especially in lower light situations. A setting between 100-400 is generally a good starting point.
Shooting a Timelapse Video: Step-by-Step Instructions
Now that you’re prepared, it’s time to get started with shooting a timelapse video. Follow these steps:
1. Frame Your Shot
Make sure to take your time here. Adjust your camera frame and focus carefully. This initial setup is crucial for the final result.
2. Set Your Interval
Decide how frequently you want to capture each image. Common intervals range from 1 second to 10 seconds, depending on the speed of the change in your subject.
3. Start Capturing
Begin the capture process. Make sure your camera remains dedicated to a single angle without interruption.
4. Monitor Your Session
Regularly check on your camera to ensure it's functioning well. Battery life and storage capacity are two critical factors to keep an eye on.
Post-Processing Your Timelapse Video
After shooting your timelapse video, the real magic happens in post-processing. Follow these steps:
1. Import Your Photos
Start by importing your images into your chosen editing software. Ensure you’re importing them in the correct order.
2. Adjust Settings
Edit your photos if necessary. Adjust brightness, contrast, and colors to achieve the desired look for each shot. Consistency is key!
3. Compile Images into a Video
Set the frame rate for playback. Commonly, 24 frames per second works well for a fluid motion effect.
4. Add Music and Titles
Enhance your timelapse by adding a soundtrack or title graphics to tell your story more effectively.
Common Mistakes to Avoid When Shooting a Timelapse Video
- Inadequate Planning: Failing to plan can lead to poor results. Always scout the location first.
- Poor Stability: A shaky camera can ruin a timelapse. Always use a sturdy tripod.
- Not Checking Settings: Forgetting to check camera settings can result in unexpected outcomes. Always double-check your aperture, shutter speed, and ISO.
- Neglecting Battery Life: Long shoots can deplete batteries quickly. Carry extra batteries and plan for your shoot duration accordingly.
Conclusion: Mastering the Art of Timelapse Video
Shooting a timelapse video is a rewarding and creative endeavor. With the right equipment, thorough planning, and careful execution, anyone can create captivating timelapse sequences that tell a story. Whether you're showcasing stunning real estate properties on bonomotion.com or documenting the beauty of nature, mastering timelapse photography is an art form worth exploring.
We hope this guide inspires you to pick up your camera, set your interval settings, and begin capturing the world in a new and fascinating way. Happy shooting!